

I recently added board and batten to one wall in my kitchen however this wall has the air return vent on it, the style of the old air return vent left much to be desired, it did not match with the board and batten. I decided to take a cue from the house I grew up in that had steam radiators, I new the metal sheets used on those would bring in the charm I was looking for, I still had some 1 x 2’s in the basement that I could use to make the frame for this so off to home depot I went to purchase an aluminum sheet of metal. After spending two hours at hd, (laughing for the majority of it), thanks to Dominic and Joshua who work there, they helped me find everything I needed for this project and for two other projects I’m working on, they both had my neighbor and I crack up laughing the whole time! Little did I know I would be spending a Friday night at HD this way and giving Dominic a “WooHoo” when we completed my shopping list!

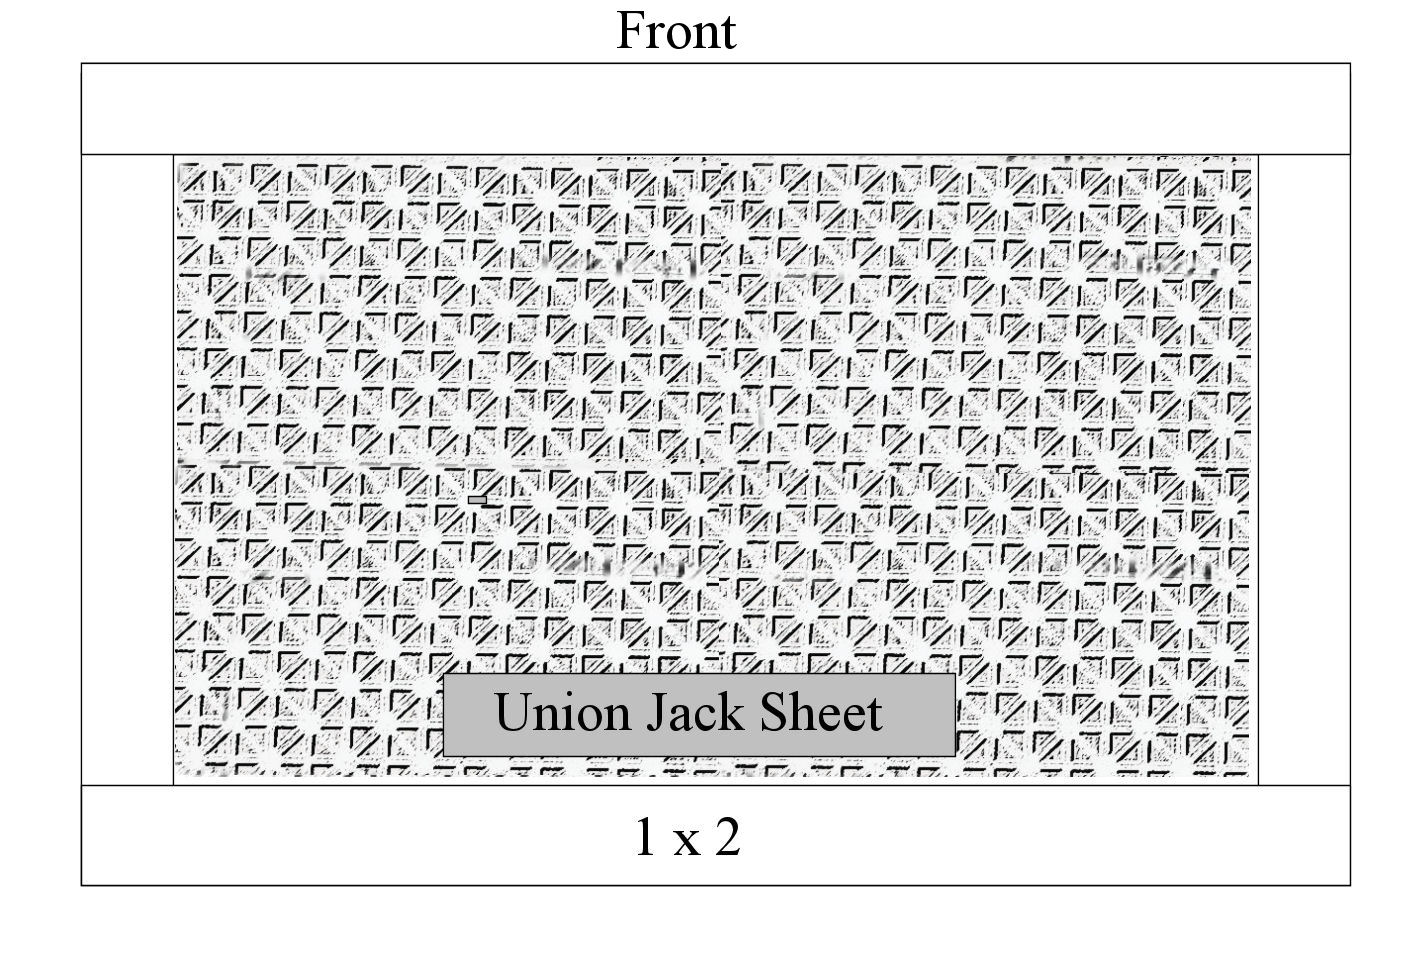
HD had a few different designs for the aluminum sheets, I went with the same style we had in the house I grew up in which is Union Jack. This project was so fast and simple seriously the hardest part was caulking and the longest part was waiting for the paint to dry!
You will need:
wood for your frame (I used 1×2’s), Aluminum sheet, cutters, tape measure, L brackets (or kreg jig) glue, nails (hinges or counter sunk screws, if you use a filter behind this return vent)

I began by measuring the old air return vent, length was 25″ height was 14″ or there about, I took 3″ off the height since I did not want to miter my corners, I wanted to keep this in the same style as the board and batten, if I didn’t have board and batten on this wall I would have mitered the corners to look like a picture frame and I would have used wider wood.
I did a dry fit after cutting the metal sheet
I originally was going to leave the sheet silver however I tested it by taping it to the wall and quickly realized I didn’t like it, the reflection of the wood floor caused the metal sheet to look dirty / gold so I decided to paint it white while I painted the pieces of wood. Then I just had to wait for the paint to dry and the battery for my drill to charge!
HD Didn’t have the mini kreg jig in stock (bummer, I was so looking forward to testing that jig out) so the alternative was to use L brackets to attach the frame pieces together and the metal sheet to the back.
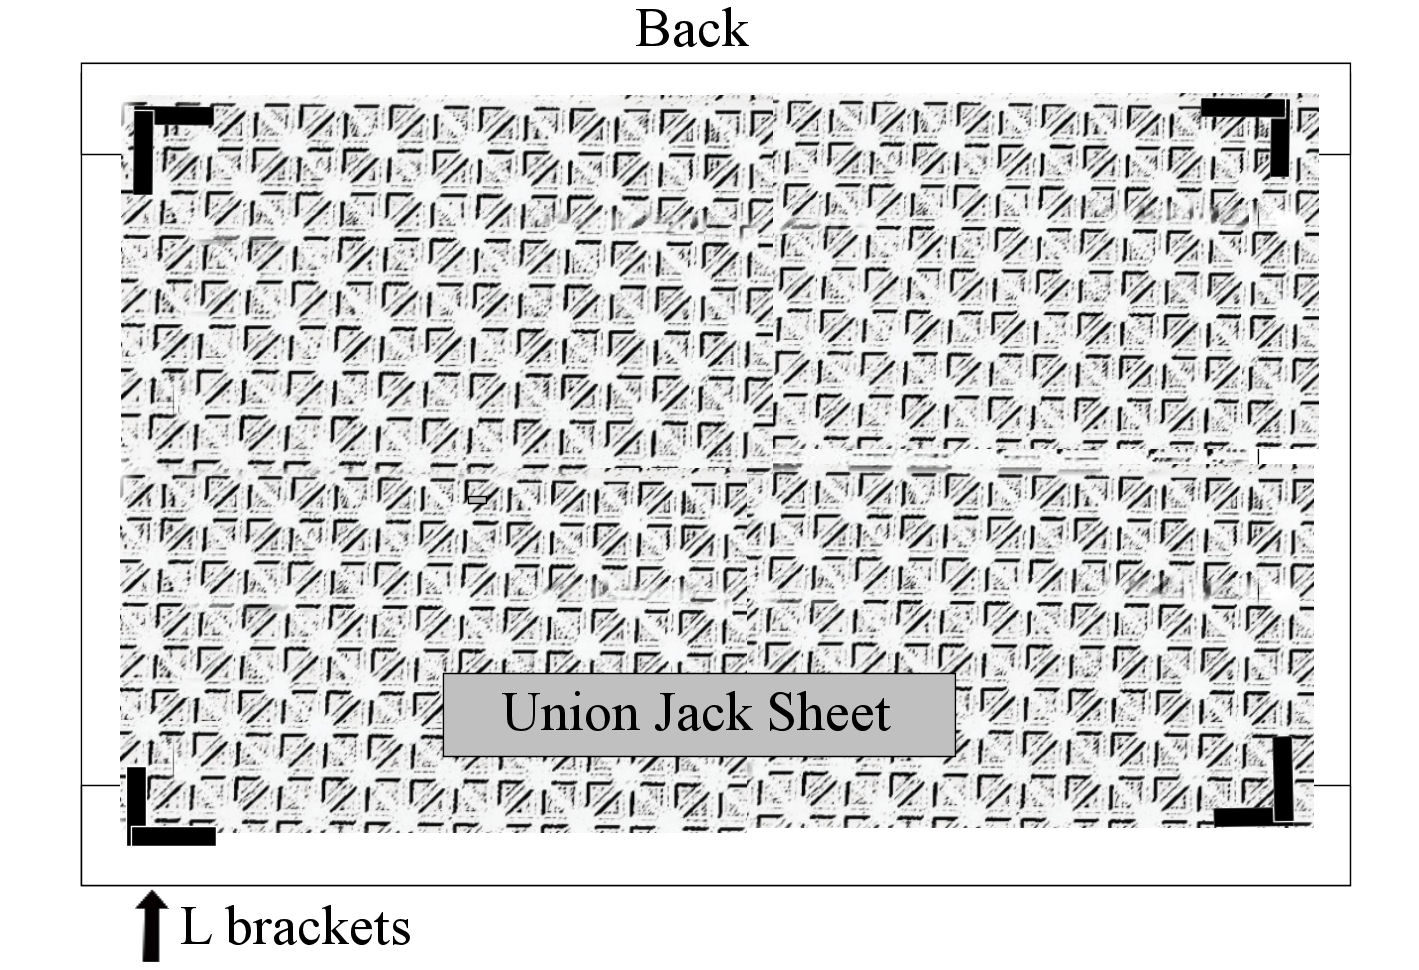

Once everything was dry I assembled it with glue and the L brackets, since my return vent doesn’t require a filter behind it, I nailed it to the wall, I’ve lived in this house for 7 years and yearly I have removed the old vent to vacuum behind it and every year there is nothing to vacuum so I felt pretty confident in just nailing this new vent to the wall, then I caulked now all that’s left is to put the final coat of white paint on that wall! I could leave it as is but would feel better with another coat.
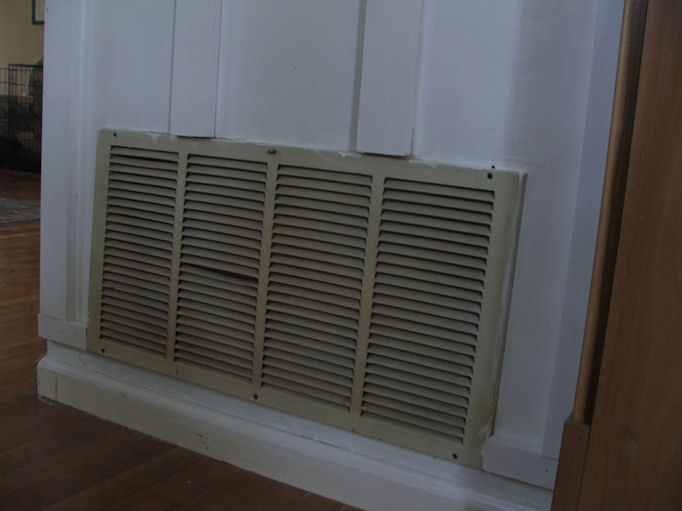
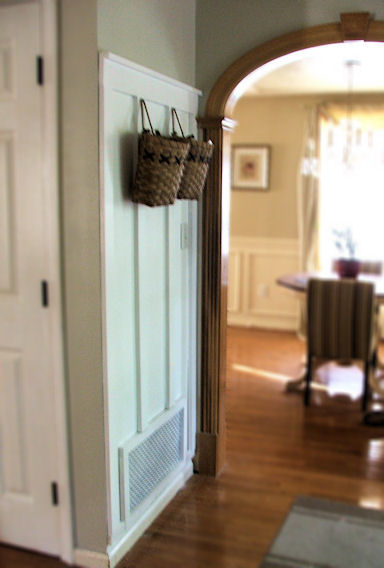
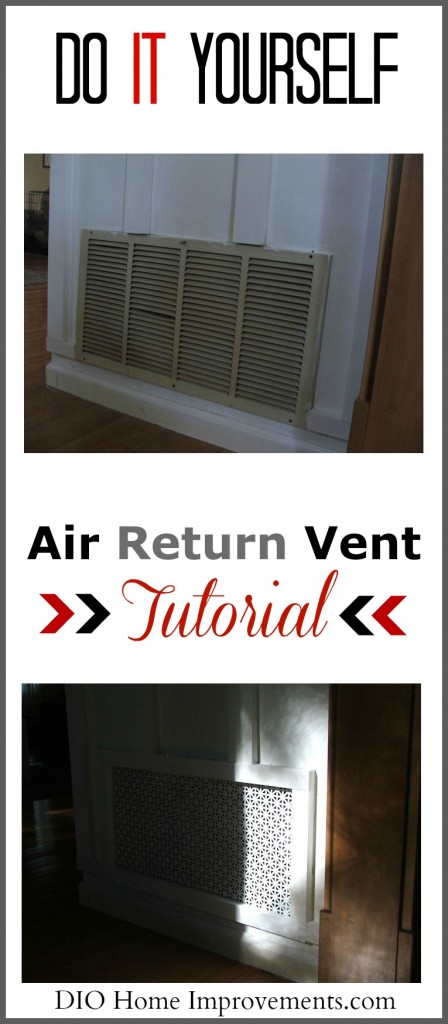
Here is the Old Vent Cover, standard in today’s homes, while it may be functional it certainly lacks charm.

This old vent cover takes away from the character of the board and batten right? YES!
Another before, even if I had replaced this with a new vent cover in this style or painted this current one it just doesn’t fit with this wall or the old school look I love!
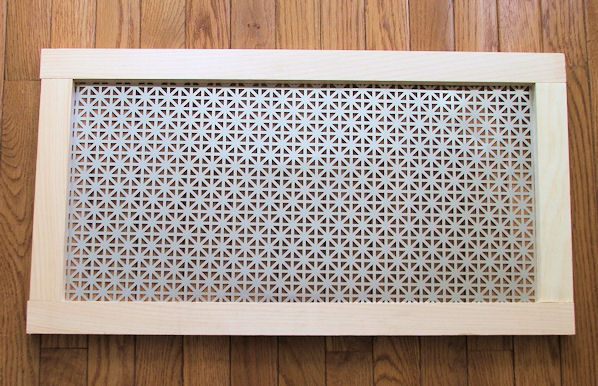
Now for the afters!
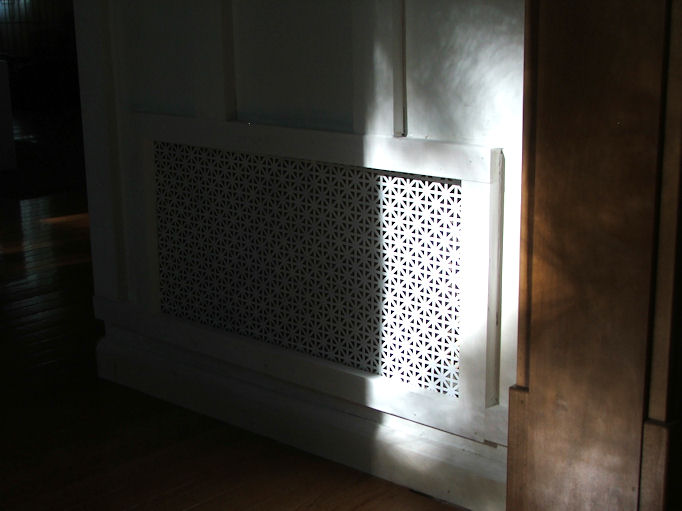
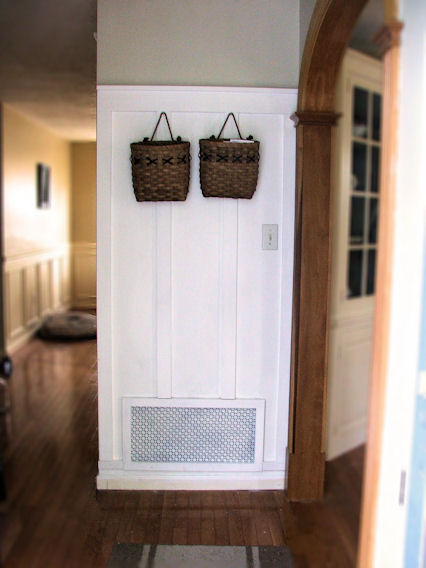


So if you have an old builder grade air return vent, consider making a new one, air return vents can be pretty too 🙂 Check back to see what I am building to go in front of that return vent 😉 one of the other projects Dominic and Joshua at HD helped me out with! You can see the complete kitchen renovation here
Linking to The Dedicated House DIY Show Off Keeping It Simple The Shabby Creek Cottage Give Me The Goods Monday Home (Work) Wednesday Glitter Glue & Paint
Related Posts:
Board & Batten Tutorial
28 comments for “DIY Air Return Vent”