![]() About
Me
About
Me
![]() Baths
Baths
![]() Kitchens
Kitchens
![]() Diningrooms
Diningrooms
![]() Livingrooms
Livingrooms
![]() Bedrooms
Bedrooms
![]() Familyrooms
Familyrooms
![]() Flooring
Flooring
![]() Counters
Counters
![]() Blog
Blog
![]() Current
Projects
Current
Projects
![]() All
Before & Afters
All
Before & Afters
![]() Other
Projects
Other
Projects
![]() How
to renovate on
How
to renovate on
a budget
![]() Paint
Colors I used
Paint
Colors I used
![]() Changing
for the
Changing
for the
seasons
![]() Halloween
Decor
Halloween
Decor
|
|
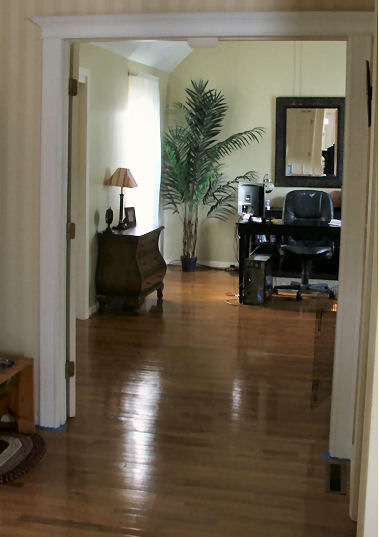
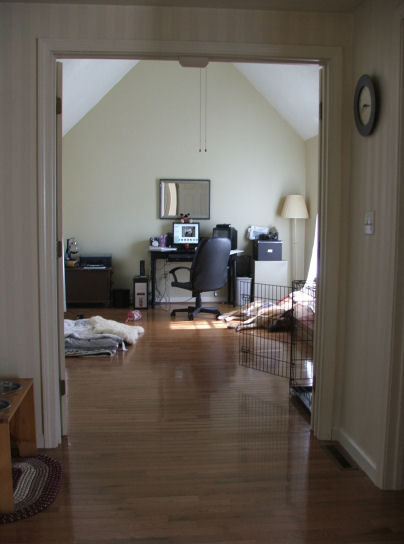
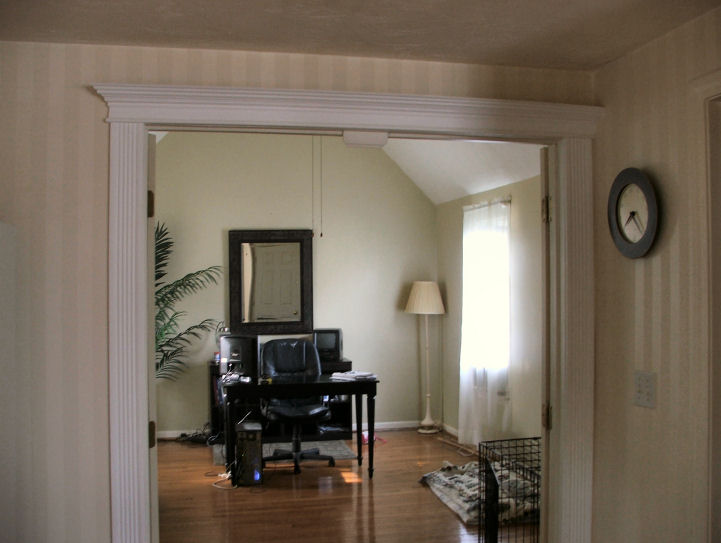
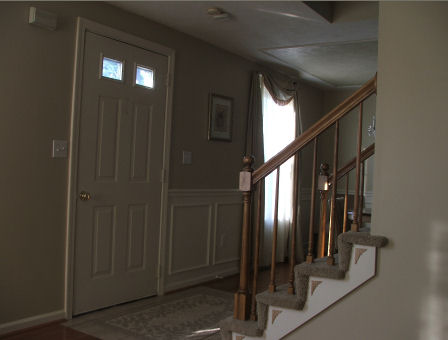
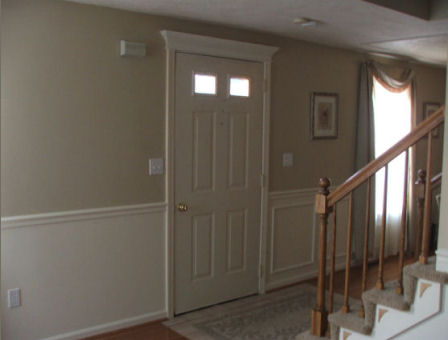
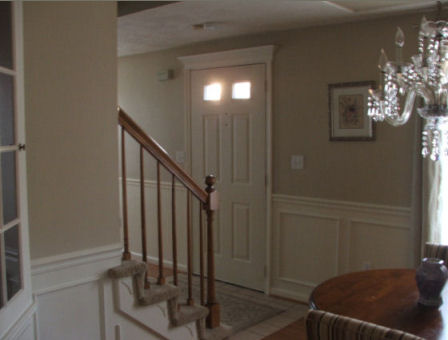
Door Casing
Cost:
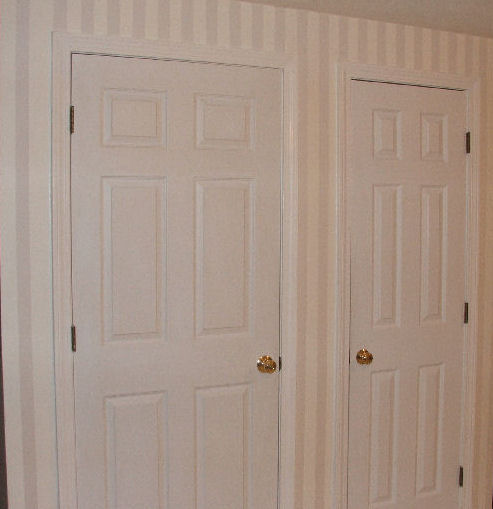
Process: Check back for more photos of this project on the other doors! Update: I changed out the headers on the cellar, pantry and bathroom doors (in the kitchen) I also changed out the hardware from brass to aged bronze. See below for photos.
**UPDATE: June 2009
Added new casing on the front door still have to
paint it to match the door trim
|