![]() About
Me
About
Me
![]() Baths
Baths
![]() Kitchens
Kitchens
![]() Diningrooms
Diningrooms
![]() Livingrooms
Livingrooms
![]() Bedrooms
Bedrooms
![]() Familyrooms
Familyrooms
![]() Flooring
Flooring
![]() Counters
Counters
![]() Blog
Blog
![]() Current
Projects
Current
Projects
![]() All
Before & Afters
All
Before & Afters
![]() Other
Projects
Other
Projects
![]() How
to renovate on
How
to renovate on
a budget
![]() Paint
Colors I used
Paint
Colors I used
![]() Changing
for the
Changing
for the
seasons
![]() Halloween
Decor
Halloween
Decor
|
|
Plain walls come to life in the Kitchen
The
kitchen is still in progress. Check back for updates to see the
final room when it's done.
Cost:
Tools:
Inspiration:
Process:
The new hardwood floors were
put in this week! I was lucky and found the same flooring that I already had in the
|

Inspiration Walls

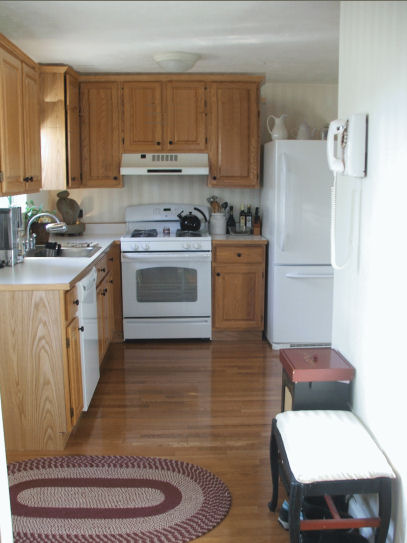
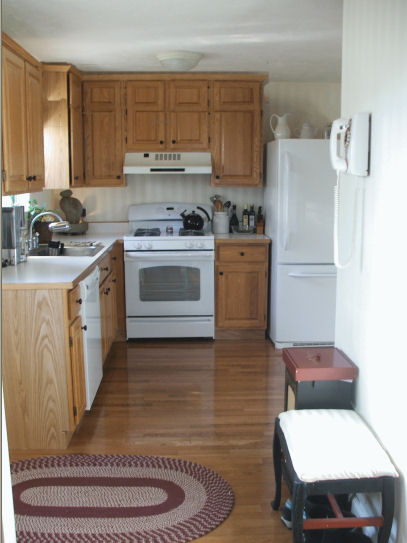
Before
Previous Owners Decor

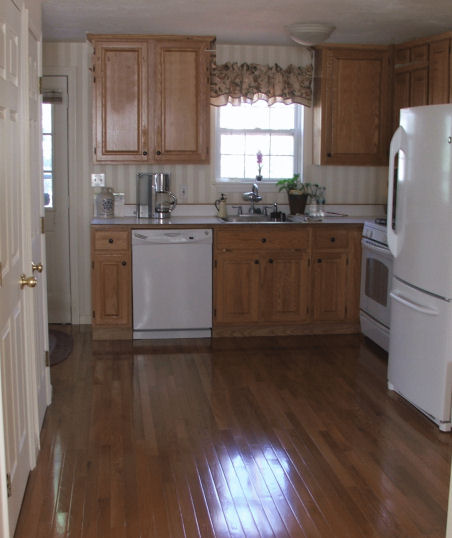
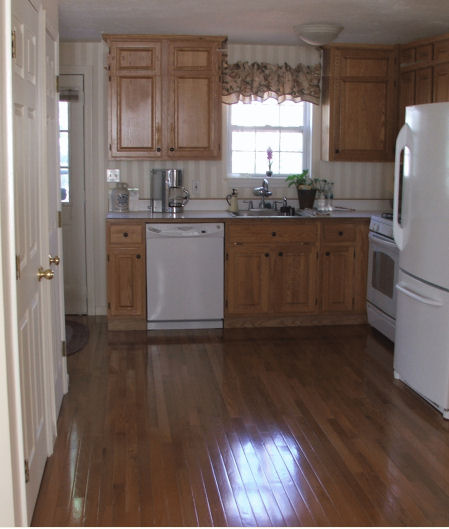
AFTER
New floors, striped walls, crown molding on top of cabinets, new appliances, new knobs.

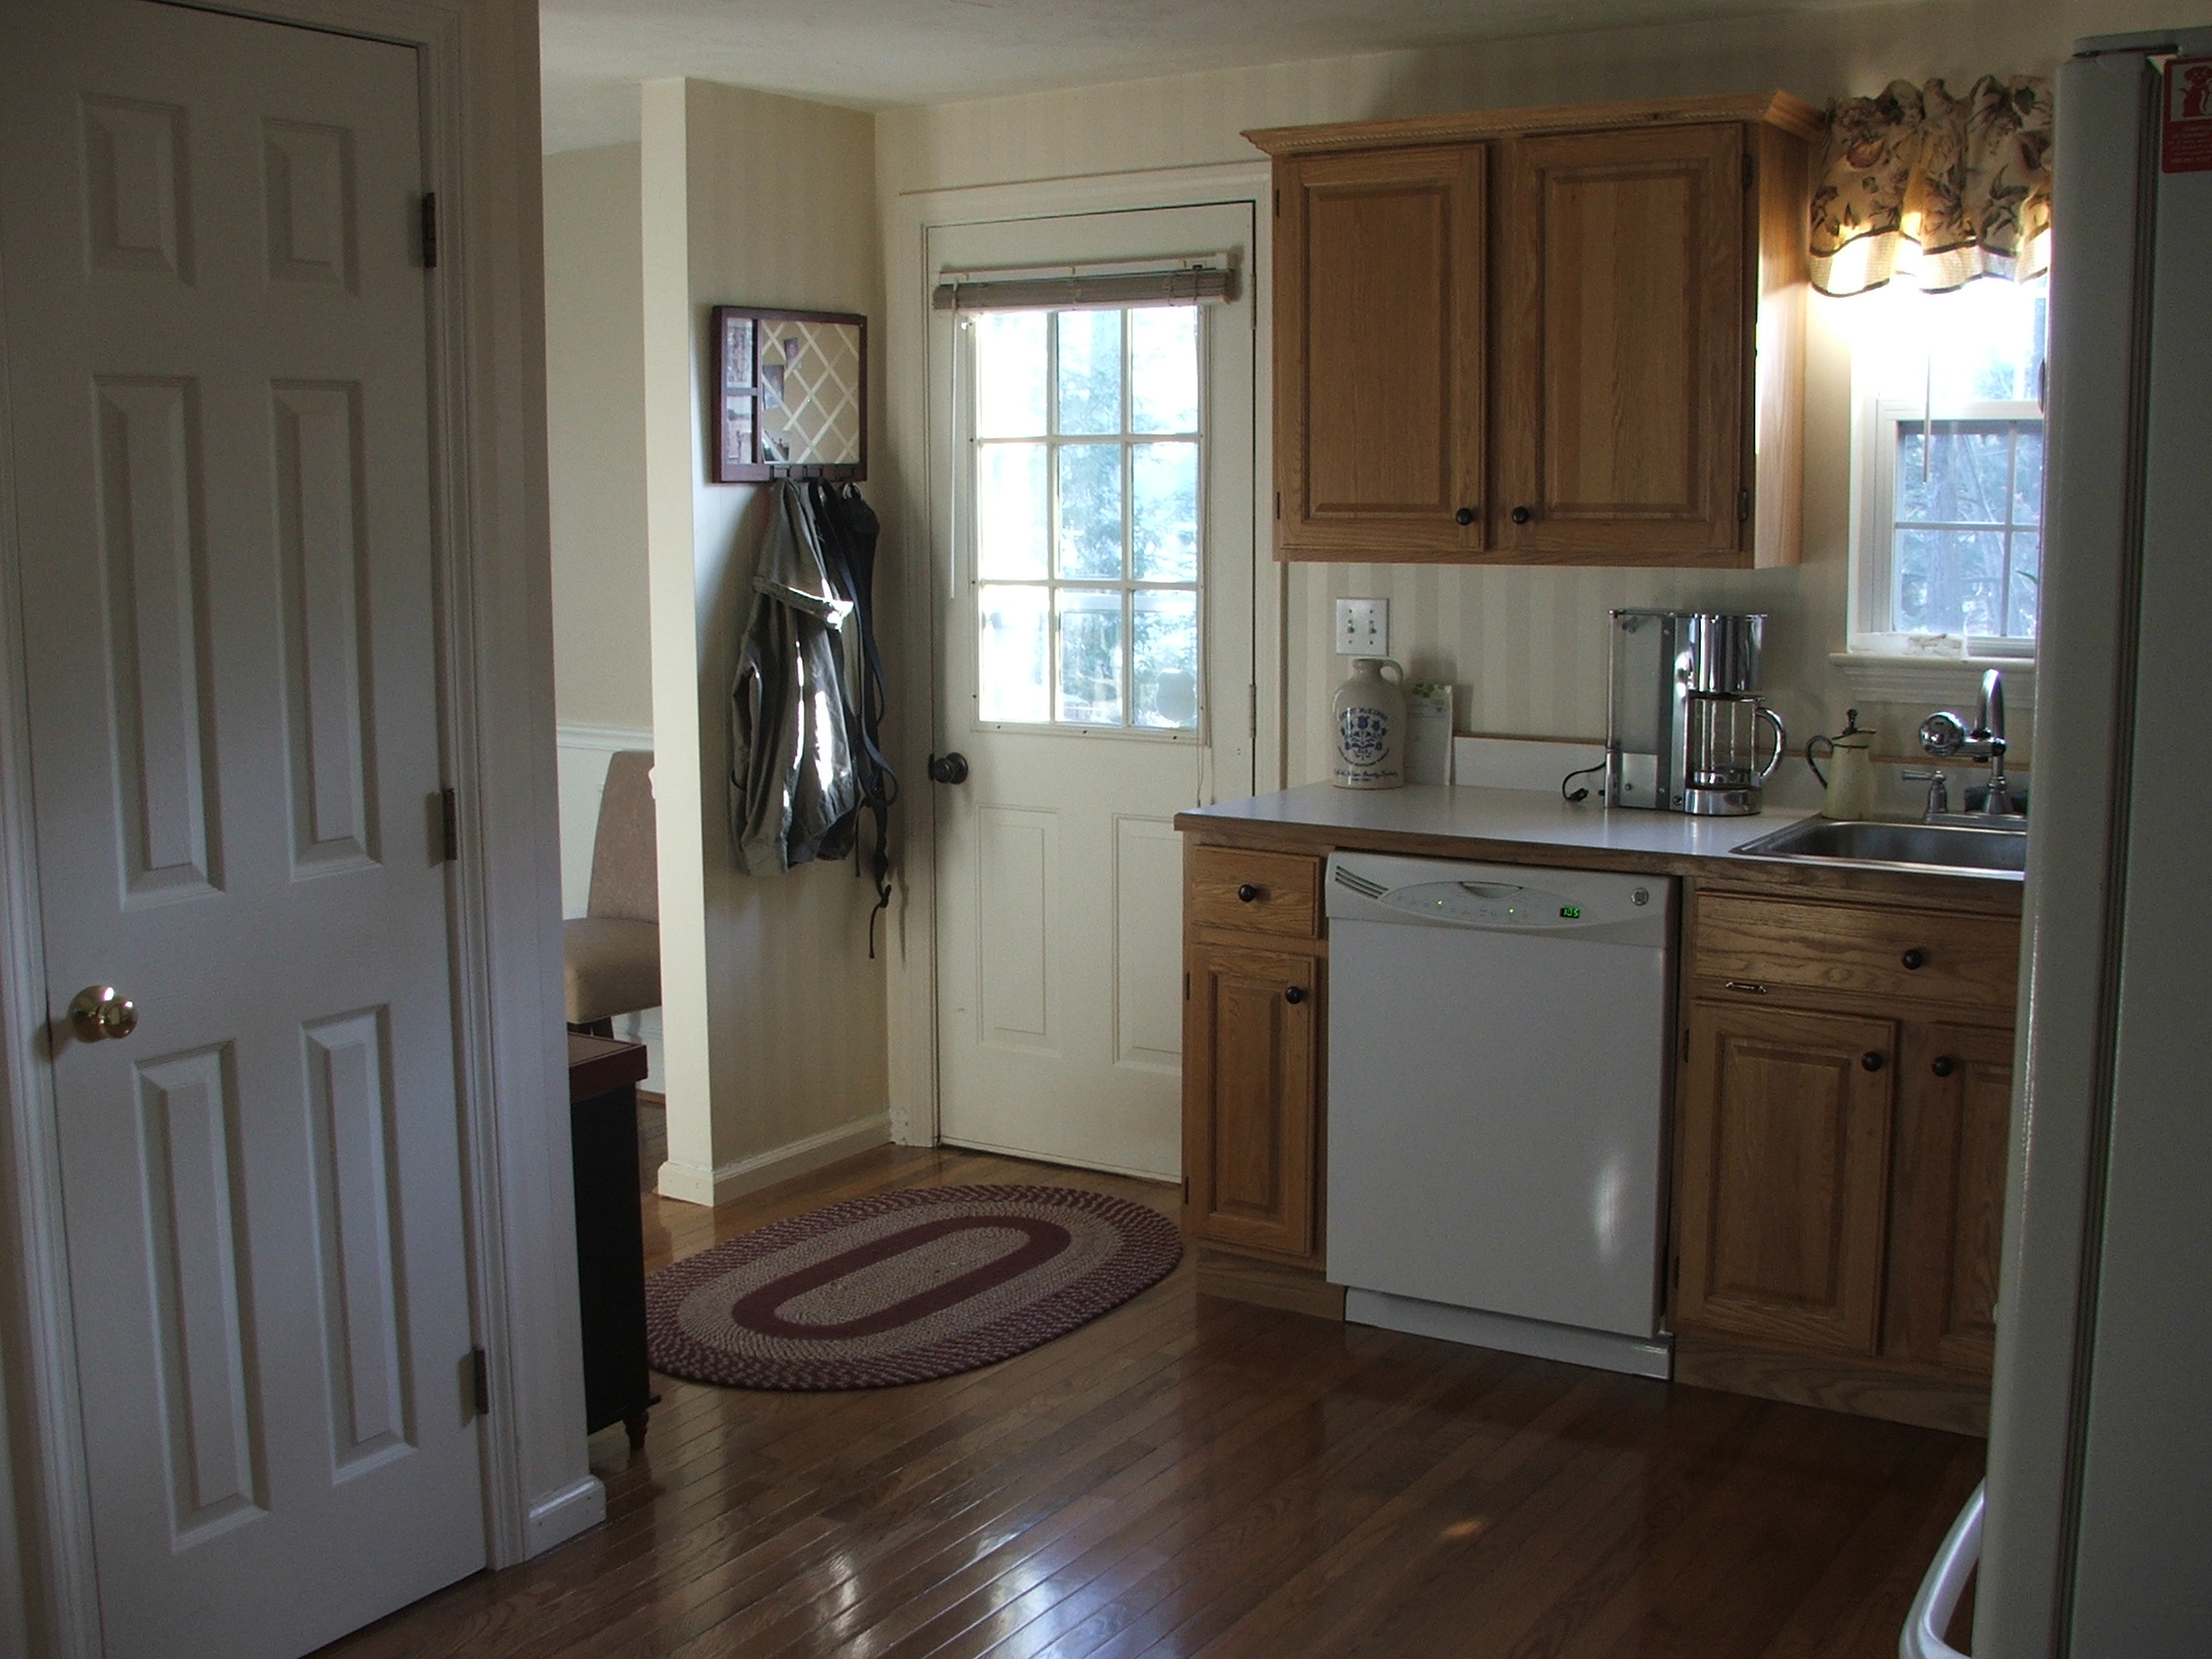
Stay tuned for new cabinets and countertops! I decided I'm going
with White Marble for the
Kitchen Counters, I'm going with 12" x 12" tiles as it's much cheaper
then putting in slabs!
Going this week to purchase the tiles, check back for updates to see the
tiles installed
below is a photo of one of the tiles.
Future Plans
Below is the faucet and sink I plan on installing
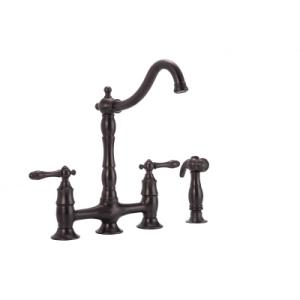
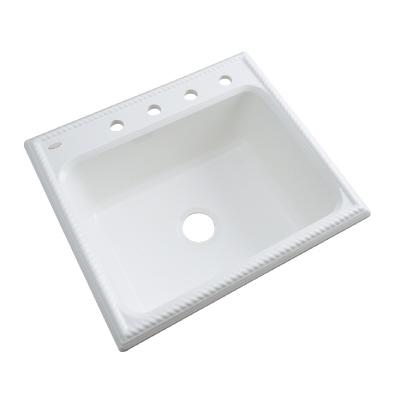
Of course I would love an old double farm sink but the space is limited
and a single bowl is more practical for this kitchen
I'm undecided at this time on a back splash I don't know if I will use matching 4" white marble tile or if I will do white subway tiles up to the bottom of the cabinets.
I'd love to figure out a way to make the top cabinets go up to the ceiling w/out having to buy new cabinets below are images of my kitchen in which I drew in taller cabinets. One set show taller cabinets with smaller doors on top (I'm not sure which I like better yet). It may not be as difficult as I imagine if I plan on refacing the cabinets then it could be much easier then I anticipate.